
Background
To come up with my original size/pattern, I took a piece of graph paper as small as I could find, then printed, cut out, and placed the mini-pattern pieces on the graph paper and traced around them. I used each square to count as an inch, then just blew it up bigger. I don't think there was any rhyme or reason to the size of the graph paper or the size of the mini-printed-pattern; it was just a place to start.
What I came up with is slightly large on me. After researching how our head size changes over time, I was hoping I could just go to my printer and say print the pattern at 70% for a baby; 80% for a child; 90% for an teen/small adult, etc. However, my printer wouldn't work like that, so I had to do a little math.
Here are the fabric dimensions (folded) for cutting the pieces. I didn't take the pattern to 60% because I figured a baby wouldn't wear a bonnet anyway.

 |
| The 80% size is a tiny bit big on my 7 year old daughter, and slightly small on me. |
Problems
There are a few problems that I see with this pattern. The instructions say to double the fabric for your front, and the original pattern illustration shows the front being really long. But, if you cut it out this way, your front brim hangs down to your chest. So, I think the illustrator drew the pattern pieces according to the instructions, but I think it's wrong. Perhaps the author was intending to say you need two pieces of brim, one for the outside, and one for the inside, but it was confusing.
Another problem I see is that the illustration of the front bonnet brim does not match the pattern piece. The description says to measure from below your ear across your head for the size, then to figure the depth from the crown to the front over the face, then to cut the front round at the corners. The illustration just shows a tiny bit trimmed off, however, the illustrated pattern piece shows a significant portion of front brim cut off.
Lastly, I find that the scooped-out gathered edge of the Cape causes problems. After you gather it down and attach it to your Crown, then you have to stitch the Cape edge to the bottom of your Front. The curve of the Cape pulls funny against the curve of the Front. If you don't gather down the Cape at all, you still have that weird point you're dealing with. Now, I may not know some trick, but it seems easier to me to not trim out that gathered area of the cape and just sew a straight edge (maybe even gathered) on to the bottom of the Crown and the lower front sides of the Front.

I have instructions on how to make this bonnet in my original post, but I did it slightly different here and wanted to write it down. Either way will work.
1. Choose your size. Measure from just below your ear over your head to just below your other ear. Look on the chart above at the "Front" line at the second number of each size. Find the number closest to your measurement and move up a size to adjust for the amount of fabric you will be trimming off. Or, if you have a large head, make the large size; if you have a smaller adult head, make the adult small, and so forth.
2. Cut out your pieces. Cut 2 Fronts, 1 Crown, and 1 Cape. Decide if you want to use interfacing, slats, or quilting to stiffen the Front and prepare to assemble.
3. Sew the Front (see this bonnet for how to use interfacing and this one for how to quilt and this one for how to use slats).
4. Gather the curved edge of the Crown to about 1/4" to the bottom straight edge (see dashed line in picture).
5. Pin the gathered Crown edge to the straight edge of the Front leaving 1/4" of the bottom Crown edge free (see dashed line in picture). Sew, with right sides together, the Crown to the Front. Finish raw edge as desired.
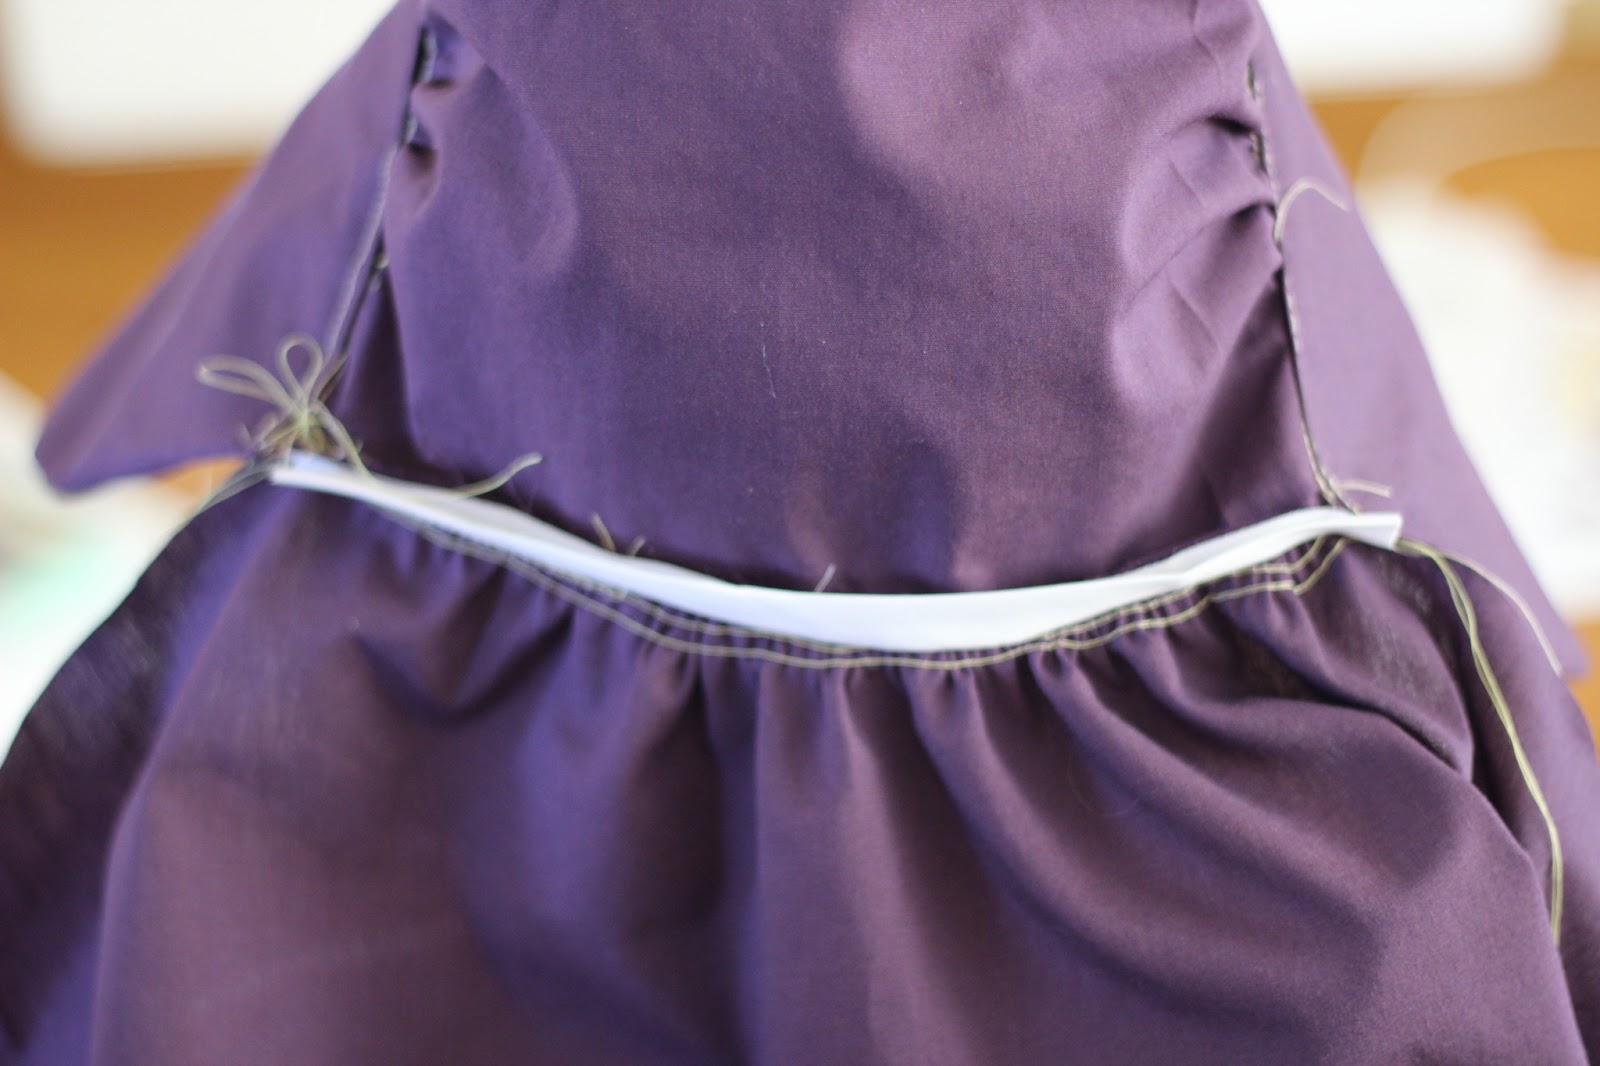
6. Gather the top of the Cape to fit the bottom of the Crown. Pin the bottom of the Crown to the top of the Cape right sides together. Take a piece of coordinating bias tape (my bias tape is white as I was just practicing) and also pin that right side down at the top/gathered edge of the Cape leaving 1/4"of tape extending beyond the bonnet edges.

7. Sew the bias tape, Cape, and Crown together.
8. Flip the bias tape up to cover your raw edges. Fold the extended 1/4" of bias tape toward the underside, pin along the top, then stitch the bias tape down.
9. Thread a string about as long as the bias tape on a blunt needle. Secure the string by sewing or knotting (or both) at one end of the bias tape. Feed the string through the casing and pull out at the center back of the bonnet. Repeat on the other side. You can now adjust the back neck of your bonnet by pulling and tying those strings!
10. Finish the edge of the cape as desired.
11. Add some ties on the inside to keep your bonnet on. Twill tape works great.
And, I hope this makes sense! I should have taken more pictures, but I figured I already had one tutorial on it and didn't need another.
2 comments:
This is fantastic. Glad to know I'm not the only one that struggles with calculating the right amount of brim.
I really don't want to have to buy a pattern, but I want an 1840's style bonnet. So I've been searching for a free pattern to modify.I thought If I get rid of the cape and change the brim shape slightly it will work. But that's a project for later in the year...I will post a link here when its done. I have a few edwardian and regency things to finish first.
Oh fun! Do share the link!
Post a Comment